What is identity verification by phone on Emirex? (Emirex.com)
Last modified:
How to pass verification using your phone.
Here is a step-by-step guide on how to verify your identity by phone on Emirex. Verification of identity consists of two steps: verification of your ID document and facial verification. The identity verification process is simple. It takes only a couple of minutes to complete it.
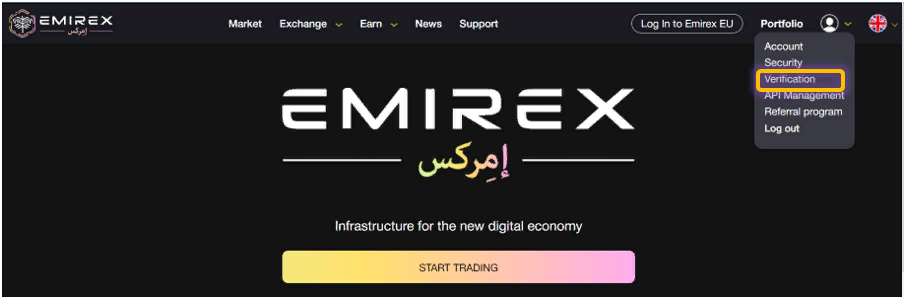
1. Log in to your Emirex account , go to your profile and select “Verification”.
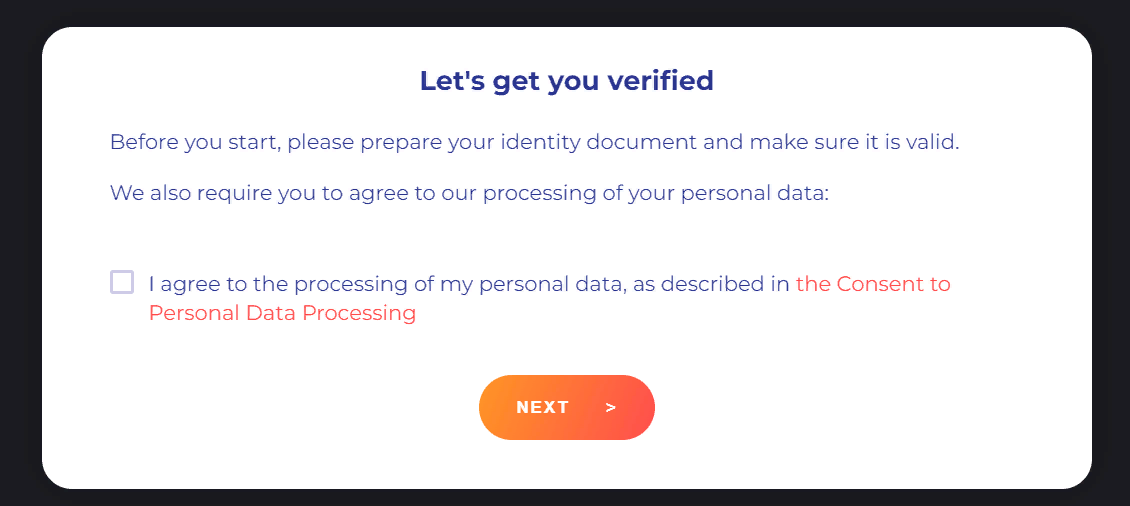
2. Read the Consent to Personal Data Processing, click on the agree box (if you accept), and then press the "Next" button.
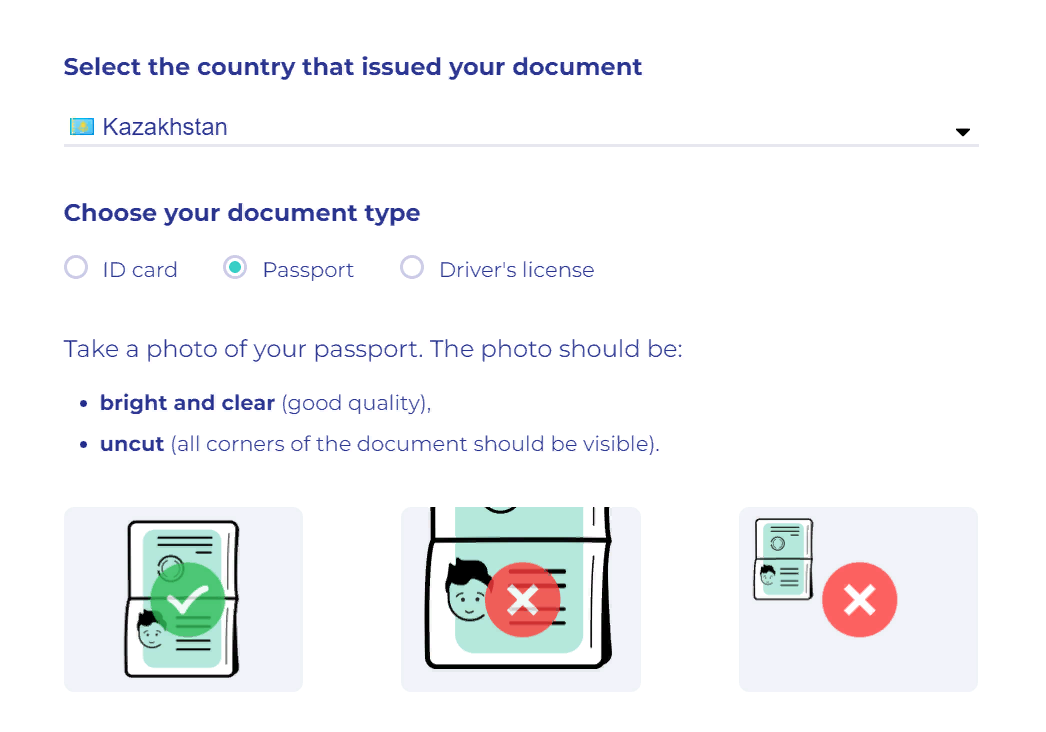
3. Select the type of the ID document to be verified and then press the "Continue on your phone" button.
4. There will be three options to continue identity verification by phone.
First option: enter your phone number to receive the link.
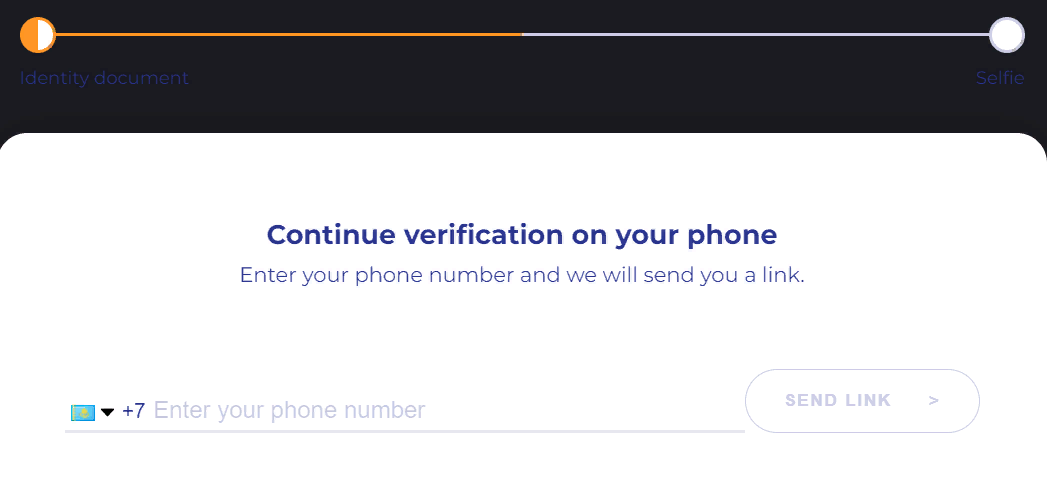
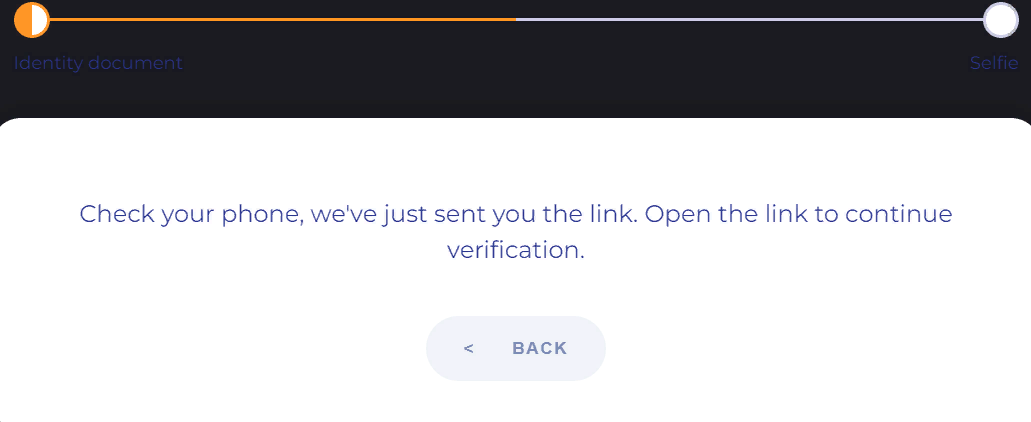
Once you enter your phone number, you will get the notification that the verification link has been sent to your phone.

Second option: Copy a link to your mobile browser.

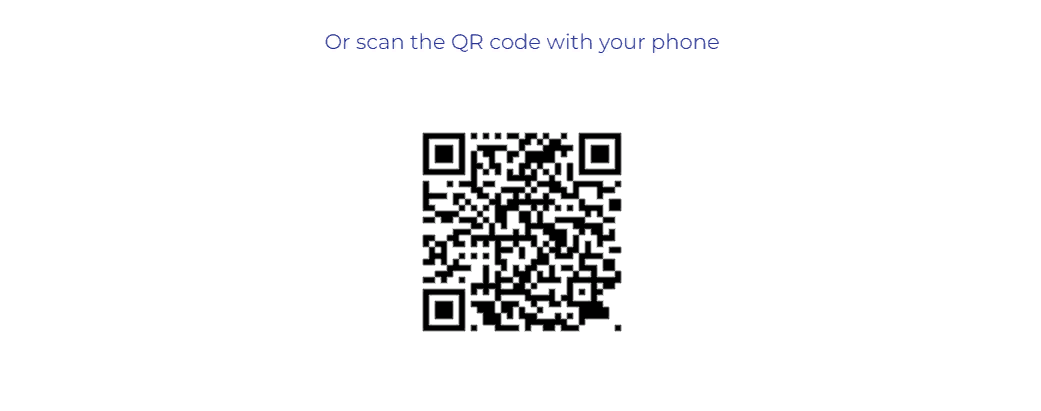
Third option: Scan the QR code with your phone.

6. Upload the document, following the instructions and then press the "Next" button.

Note: During verification, your document will be checked for authenticity by a special program. Please follow the instructions. It will save your time and make it easier for our team to verify your identity.
Caution: Be careful when choosing a document for verification. If you have chosen a passport and are trying to verify yourself using ID card, the system will reject this operation.
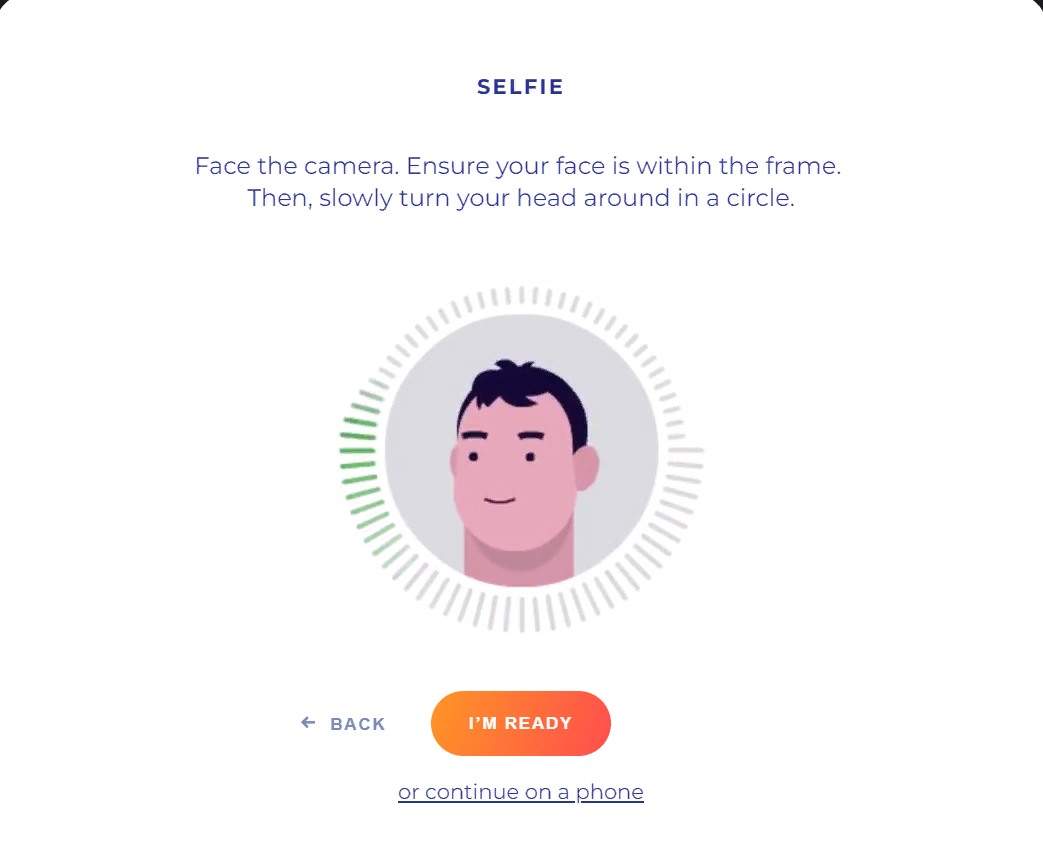
7. After you uploaded the ID document, the system will prompt you to pass liveliness check. This is the second and the final step of verifying your identity.
Once you press the “I’m ready” button, follow the instructions carefully to make the face verification process go smoothly.
8. After you have passed face verification, the system will allow you to replace the document that you initially provided as ID verification if needed.
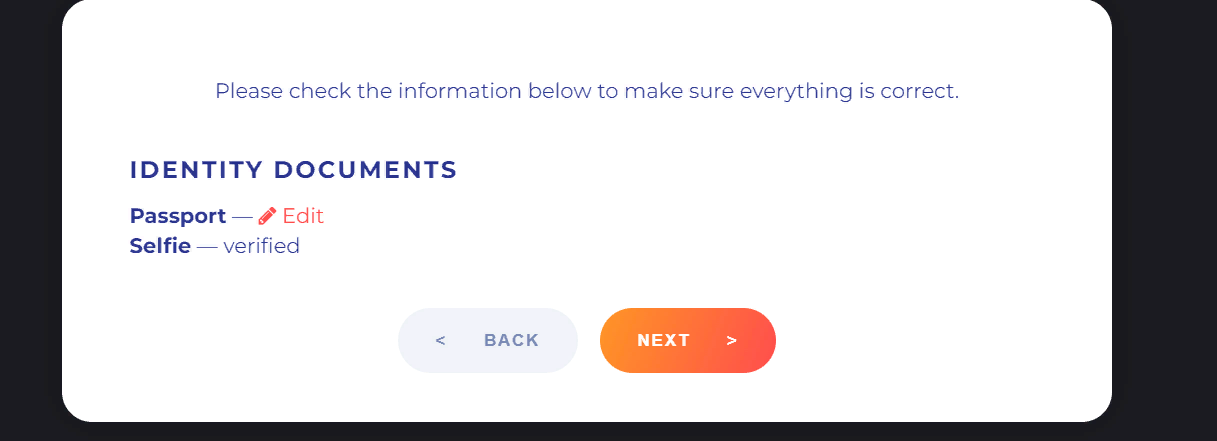
In this case you should select “Edit”, delete the previously provided ID document, upload a new one and then press the “Next” button.
If you do not wish to replace the previously provided ID document, press the “Next” button to complete the process.
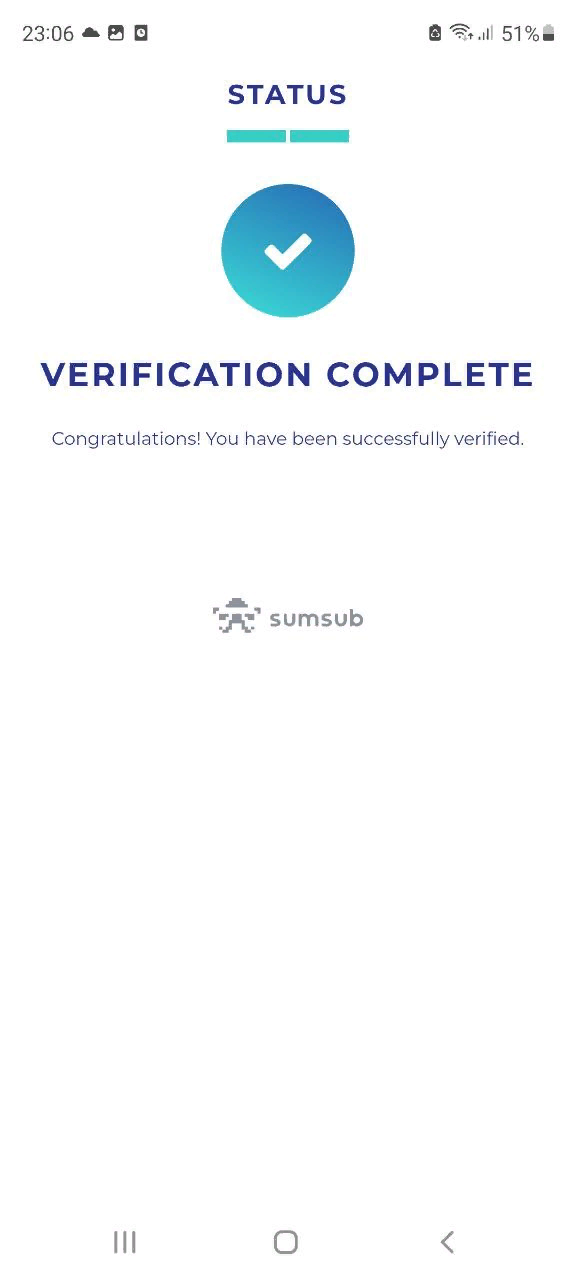
That's it! Now you will see a window informing that your data is being checked. If you followed the instructions, then usually the verification process is fast.
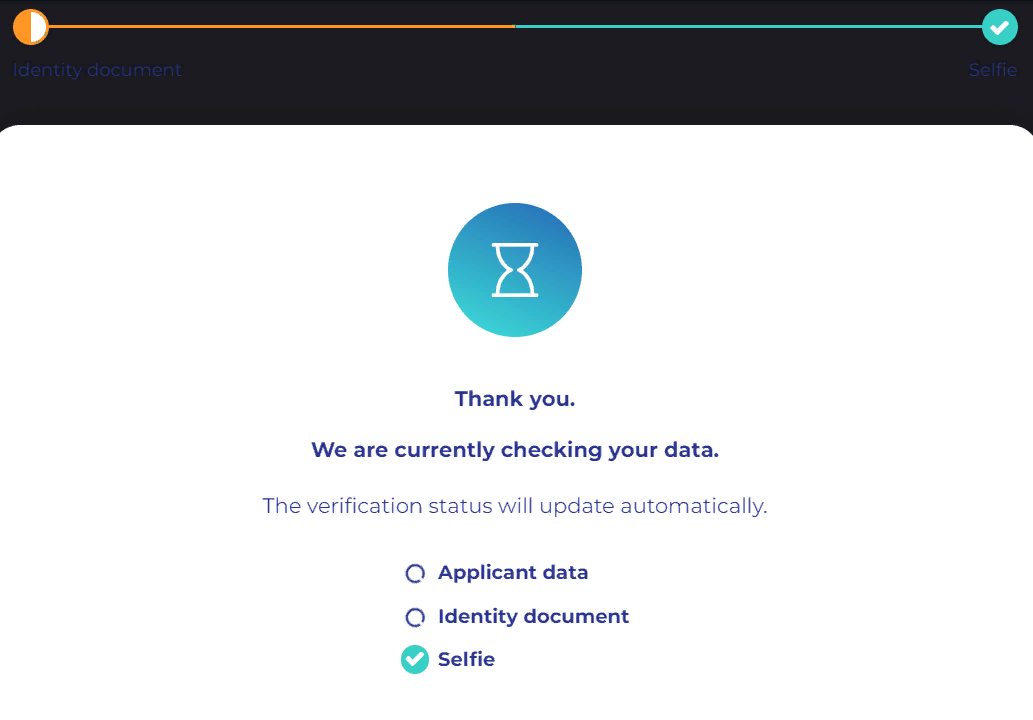
The status of your identity verification will be displayed on your phone.